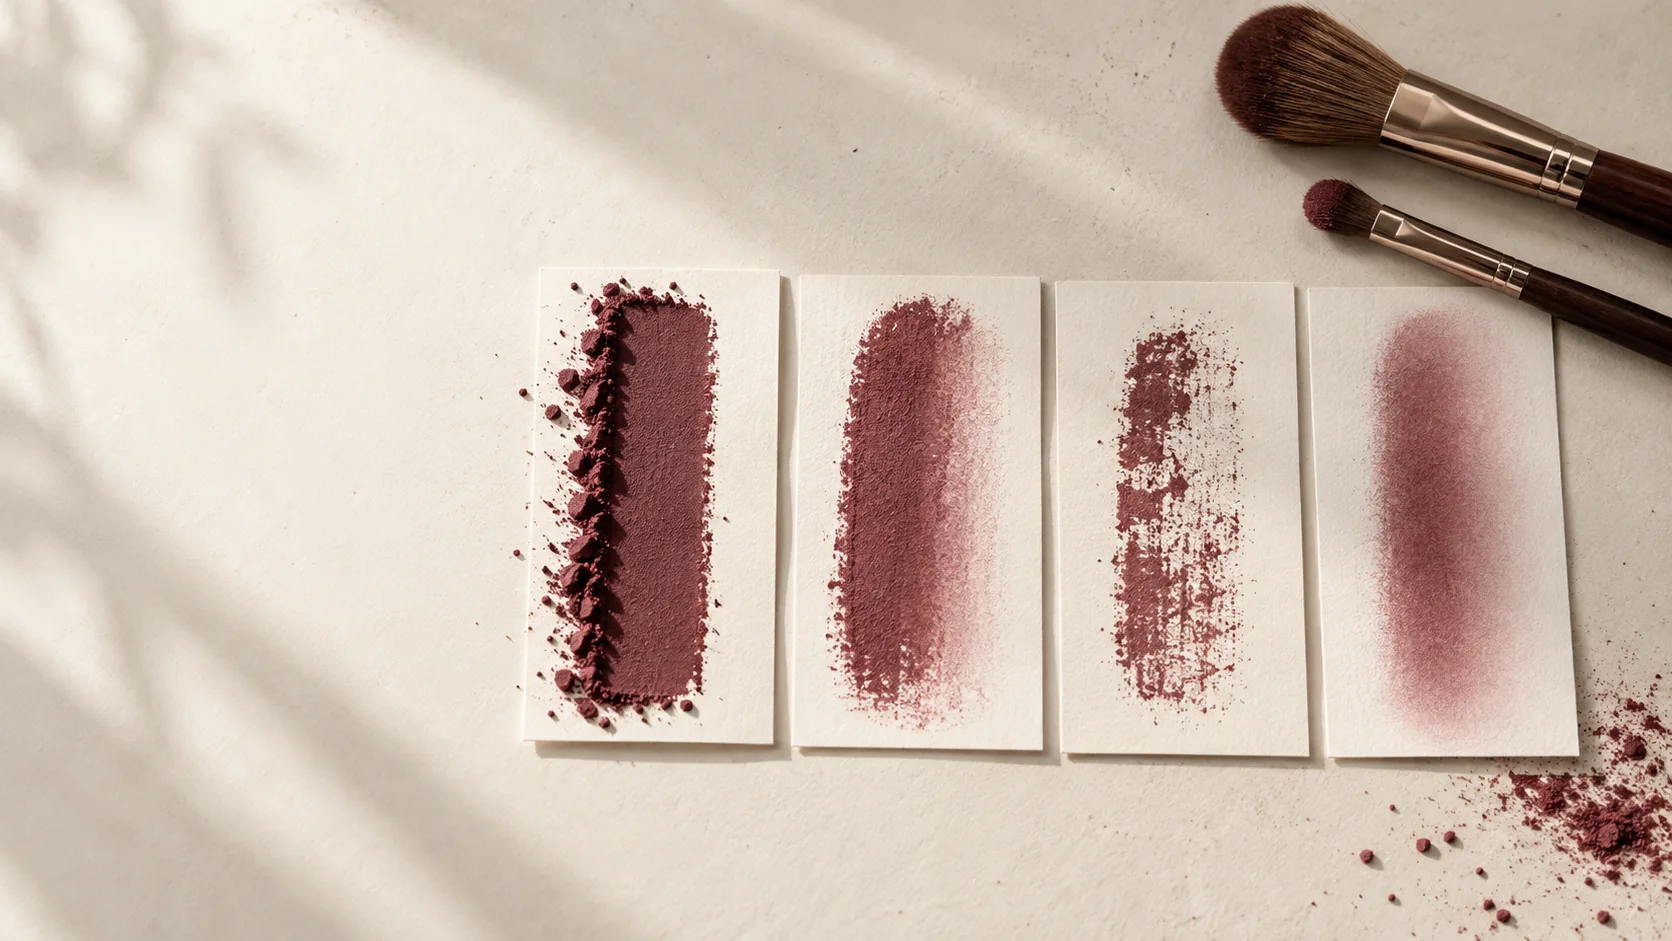
An edge is not simply blended or unblended. It is a record of where product was deposited, how much remained mobile, and what the tool moved after placement. When an edge turns harsh, muddy, patchy, or too wide, adding more blending usually hides the cause. A better response is to identify the failed variable.
Read the edge before correcting it
A hard edge has a short transition from full color to bare skin. A muddy edge has lost color separation because pigment travelled into an adjacent area or mixed with residue on the tool. A skipping edge alternates between deposit and gaps, often where texture, surface tack, or inconsistent contact interrupts release. An overextended edge may be smooth but occupies more space than the design allows. These failures need different corrections.
The working model is simple: pickup is what enters the tool, deposit is the first transfer, and diffusion is the controlled reduction in concentration away from that deposit. Pressure, contact area, tool angle, product load, and surface condition affect all three.
A four-card edge drill
Use a skin-safe product on your arm if appropriate for you, or use coated practice paper. Keep product, tool, stroke length, and lighting constant. Make four equal deposits.
1. Baseline: use your normal load and pressure.
2. Load test: remove excess product on a clean palette, then repeat at baseline pressure.
3. Pressure test: keep the reduced load but use only enough pressure to maintain contact.
4. Clean-pass test: place color once, switch to a clean dry tool, and diffuse only the outer boundary.
Photograph all four from the same distance before deciding which is best. If reduced load fixes the edge, the problem began at pickup. If lighter pressure fixes it, the original tool was spreading the deposit faster than it was softening the boundary. If only the clean pass works, residual pigment in the tool was repeatedly replenishing the edge.
Pressure changes more than force
Pressing harder can splay flexible fibers and enlarge the contact patch. That means the tool may deposit or move product over a wider area even when the hand travels the same distance. A dense or short-loft tool can behave differently from a long, flexible one, so “use a light hand” is incomplete advice. Observe the footprint: how much surface is actually touching?
For a controlled gradient, place the strongest concentration deliberately, reduce the load, then work at the boundary rather than scrubbing across the center. If the center becomes transparent before the edge becomes soft, the tool is redistributing the whole shape instead of refining its perimeter.
Surface tack is part of the system
The same pigment can grip immediately on a tacky base, skate across an emollient film, or catch irregularly on visible flakes. Do not compensate for every surface with more pressure. First compare a small area after additional dry-down. If the base rolls into crumbs rather than merely gripping, stop and use the layer test in Why Makeup Pills.
Troubleshooting matrix
- Dark ring at the boundary: likely repeated deposit at the edge; unload the tool and use outward passes that finish beyond the boundary.
- Color expands with every pass: contact patch or pressure is too large for the planned shape; reduce both before changing product.
- Patchy gaps: inspect surface texture and tack; use shorter placement motions before attempting diffusion.
- Gray or dirty transition: isolate colors and clean the tool; do not use a brush carrying the neighboring shade.
- Center disappears: stop polishing the full shape; replenish the center once, then work only at the perimeter.
Record what changed
Write down product format, base condition, tool, load-removal method, pressure cue, number of passes, and elapsed time after application. “Blended better” is not a useful note. “Half-loaded brush, bristles not visibly splayed, two clean-tool passes after 60 seconds” can be repeated.
The useful conclusion
Edge control is a sequence: place, unload, then diffuse. Diagnose the geometry before changing products. For a deeper comparison of the tools themselves, continue to Brush Shape Is a Variable.