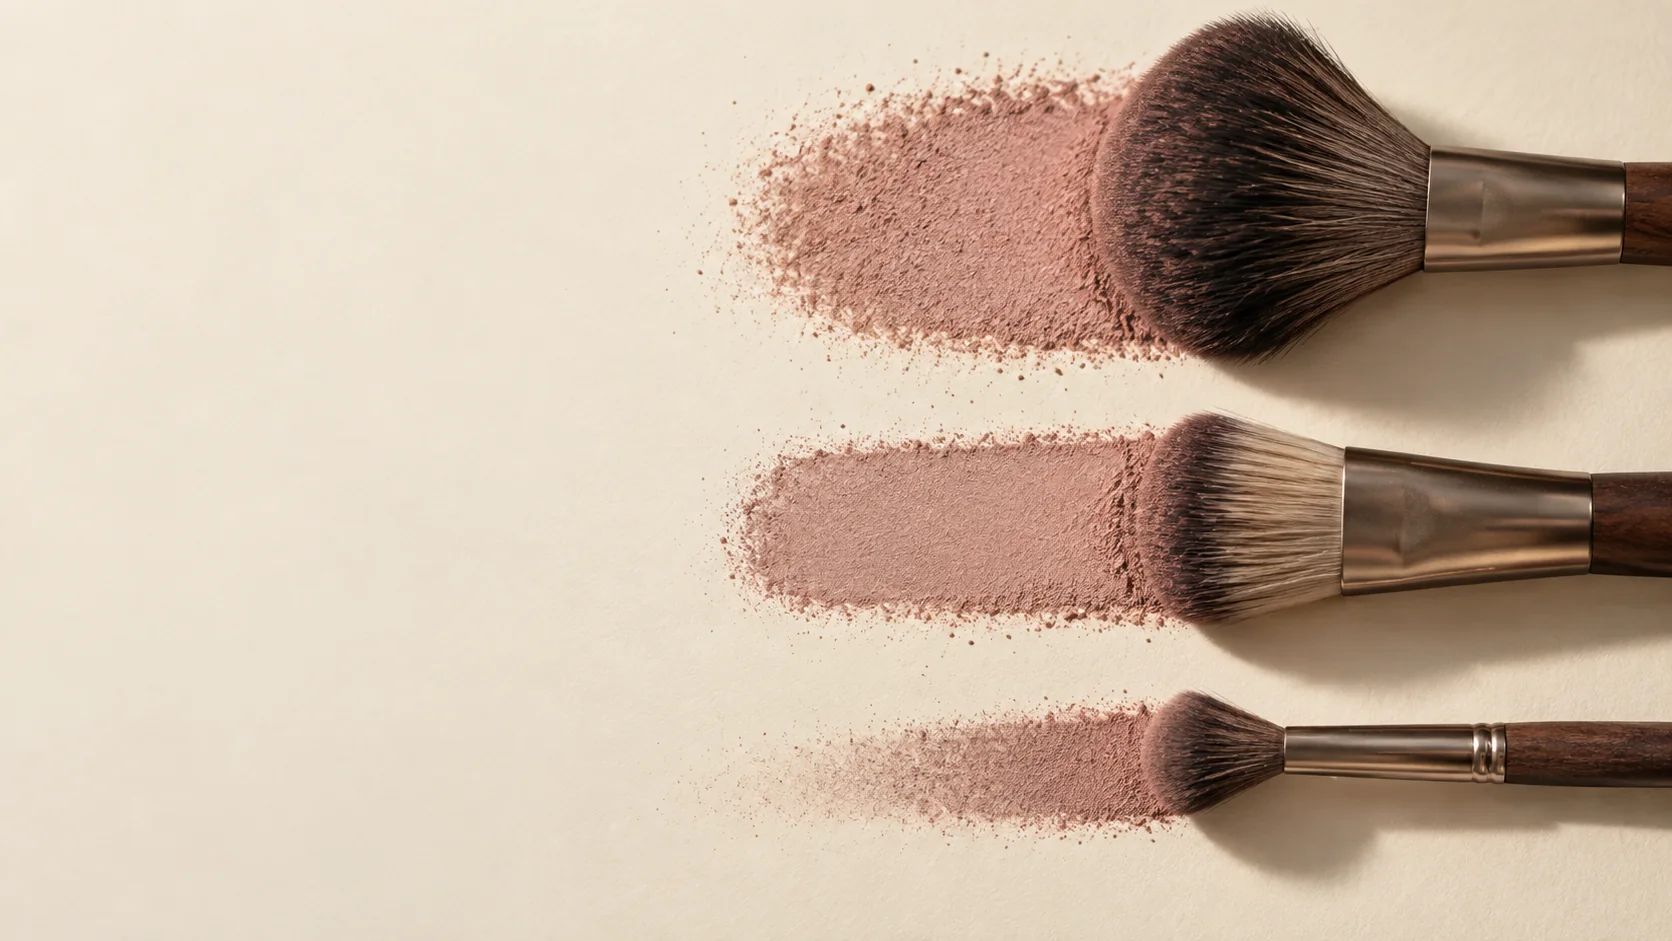
Brush names describe an intended task; they do not guarantee a result. Two “blending brushes” can differ in density, loft, fiber flex, tip profile, surface area, and residue. Treating the brush as a set of variables makes tool choice repeatable.
Define what you can observe
- Density: how closely fibers are packed at the working surface.
- Loft: usable fiber length from ferrule to tip.
- Flex: how readily fibers bend under working pressure.
- Cut: the geometry of the tip—flat, angled, rounded, tapered, or irregular.
- Surface area: the footprint touching the application zone.
- Pickup: material taken from pan, palette, or skin.
- Release: material transferred during placement.
- Drag: resistance felt while moving the tool across the surface.
Fiber material can matter, but “natural versus synthetic” is not a complete performance test. Construction, fiber treatment, diameter, wear, product format, and cleaning state all influence behavior.
Equal-pass powder test
Use two clean, fully dry brushes and one powder. Gently level the powder surface if appropriate. Load each brush with the same number and direction of passes, then use the same tapping protocol. Make one straight application pass on separate areas of practice paper or skin-safe test area.
Compare the first deposit, edge width, fallout, streaking, and how much remains in the brush for a second pass. A brush that picks up more is not necessarily more efficient if it releases an uncontrolled patch. A lower first deposit may be useful for buildable transitions.
Repeat with pressure low enough that the fibers retain their shape, then with a defined moderate pressure. Photograph the footprint. If the denser brush suddenly creates a much wider mark, pressure has changed effective surface area.
Equal-pass cream test
Dispense equal amounts of cream onto a palette. Spread each into the same thin patch so pickup does not depend on dipping into a mound. Load separate brushes with one pass and apply using equal stroke length. Observe skipping, streaks, coverage, edge, and how readily the tool lifts a layer already beneath it.
Then repeat with pressing rather than sweeping. The better motion depends on the desired film and the stability of the base—not on a universal brush rule.
Density, flex, and cut interact
A dense short-loft brush often preserves a defined footprint, but pressure can make it move the layer beneath. A long flexible taper can create gradual release, but excessive load may concentrate at the first contact. An angled cut can align with a plane or edge, yet rotating the handle changes that geometry. Test the actual contact, not the silhouette in the cup.
Cleaning state is an experimental variable
Compare clean/dry, used-with-same-product, and visibly contaminated states only where hygienically appropriate; never share used eye or lip tools between people. Residual emollient can change powder pickup, old pigment can muddy color, and incomplete drying can alter flex and release. A performance note without cleaning state is incomplete.
Follow product and tool-maker care instructions. Discard tools that cannot be cleaned adequately, have damaged ferrules, shed excessively, smell abnormal, or irritate skin. Hygiene procedures for professional services must also follow applicable local rules.
Build a tool card
Record brush identifier, dimensions, density estimate, loft, flex cue, cut, clean state, product format, loading protocol, pressure cue, first-pass deposit, edge width, second-pass reserve, drag, and base disturbance. Add one photograph from above and one from the side under load.
The goal is not to crown one brush. It is to match behavior to a task: concentrated placement, thin film, hard boundary, gradual diffusion, work around texture, or minimal disturbance of the layer below.
Apply the result
For a sharp placement, choose a footprint and release pattern smaller than the final shape. For diffusion, use controlled reserve and a tool that can contact the boundary without repeatedly feeding it. For thin complexion films, prioritize even release and low disturbance. Then confirm the choice in the real product stack.
Continue with Edge Control to connect tool behavior to gradients, or Slip, Set, and Film to test how the formula changes the same brush.